
At Home Resources
Hello there!
If you’re reading this, it’s likely you have been asked to do a self tape.
We want to start by saying that if we request a tape, and you take the time to make a tape - you have our guarantee that we watch the tape!
Cheers and have fun,
The McGregor Casting Team
AT HOME RESOURCES FOR SELF-TAPING AND CALLBACKS
SELF-TAPING AT HOME
Please note to all actors - that you will not be judged by the production value of your self-tape. As long as we can see & hear you clearly that is what really matters. This is a short guide which includes some helpful tips on how to record a self-tape from home and to present yourself in the best possible way. Auditions can be filmed on your phone or any other camera you have available to you. We support you & thank you all for adapting to these changes.
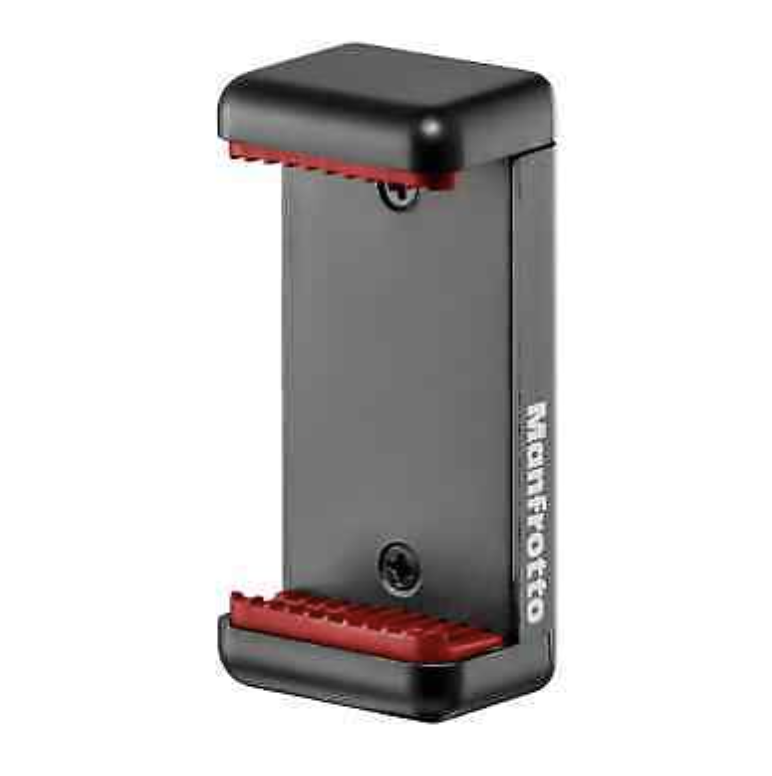
Shoot: Keep it simple. Shoot with enough light so we can clearly see your face. Stationary is best, to focus on your face. Ideally, the camera/phone should sit on a tripod to maintain a steady image. If not, try and put the camera/phone on a stable surface (or utilize someone with steady hands). You could consider purchasing a small tripod or mobile phone bracket (examples below).
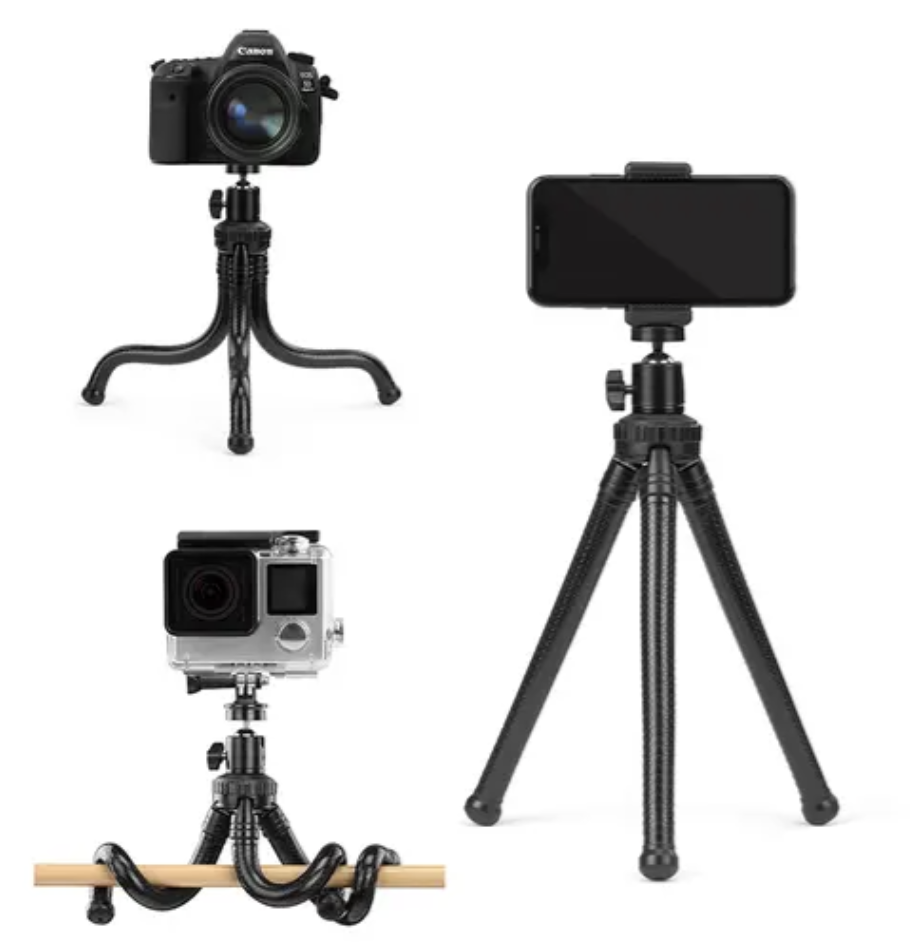
You could also fashion yourself a tripod using a coffee cup.
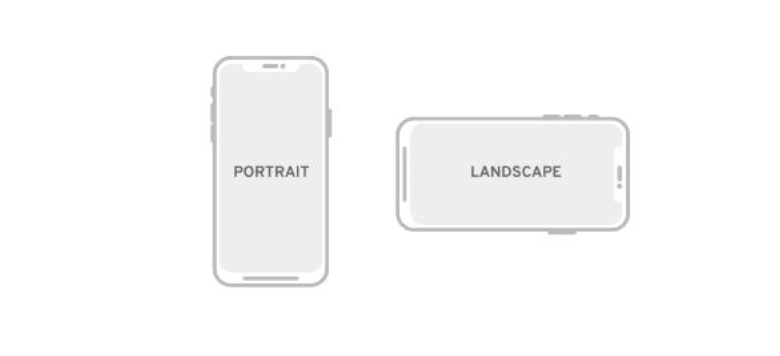
Framing: ‘Medium’ shot is best (top of your head to just below shoulders with just a small amount of space above head. If you are shooting on a phone, please hold the phone in a ‘landscape’ position (example below).
Lighting and Sound: Natural light is best. Make sure the main light sources come from BEHIND camera (to see your face most clearly). Do not film yourself standing in front of a window (this will make you a silhouette). Record a test clip and see how it looks and sounds before taping the scene.
Audition Scene – helpful notes if you haven’t done an audition before: We only need you and your reader to read the dialogue for the characters. We don’t need you to read out the ‘stage directions’ – which are essentially all of the descriptions - where the scene takes place, or the feelings a character has, or the action the character is doing.
An example of a stage direction is:
‘Bob walks through the door’
‘Jane looks confused’
These directions don’t need to be read out loud.
Reader: Have someone read the lines of the other character(s) off camera. They should stand next to the camera. Your reader should not appear with you on camera. Your eye line should not be at the camera lens, but just slightly off (to the right or left of the lens i.e. looking at your reader).
Slate: Please record a SEPARATE video of you detailing your Name, Age (if under 18), Agent, Height, Location and Cultural Background.
MUSICAL THEATRE SELF-TAPE GUIDE
Please read through the above notes on shooting, framing, lighting and sound. These will help you with the basic set-up of your tape. Here are a few other notes to consider when putting down your self-tape for a musical:
If you are using a piano accompanist or backing track do a few sound tests to make sure we can hear you and the piano/backing evenly. We suggest you do a few tests of the softer and louder parts of the song to make sure we don’t miss any of your singing!
When singing your song, do not look down the barrel of the camera. You should place your eyeline off to one side or above the camera.
If you are required to dance, this can be filmed anywhere you are comfortable dancing and have enough room to do so (including outside!) - as long as we can see you clearly!
CALLBACKS VIA ZOOM
Position yourself at home where you get the best internet connection. The Casting Director will let you into the meeting at your allocated callback time. They will make introductions on who is on the call with you, along with who is recording and reading with you.
Prior to joining your Zoom, please consider the following technical set up:
Ensure your room has enough light so we can clearly see your face, a light source from in front of your camera is best as opposed to a backlight (where we will only see your silhouette).
If you can, have your device raised (on some books or boxes) or on a tripod with the camera at your eye level.
If you are using a mobile phone or tablet, always have it in landscape mode - make sure your device has autorotate enabled.
If you are using a laptop, ensure your screen is straight, so we don’t see your face at an odd angle.
If you believe you will need to speak louder than usual or yell, you can adjust your audio settings following the instructions below. Please note - you can’t adjust these settings on a phone:
Open settings within the Zoom app
Click the audio tab
Under "Audio Profile" set the Background Noise Suppression to Low instead of the default "Auto" setting
After you’re set up, this is your opportunity to ask the Casting Director or creative team any questions you have about the character, script, or show.
The team will rinse and repeat this process with you until they have finished workshopping the scene. After you’ve said your goodbyes to the team we will remove you from the meeting.
If you are not feeling comfortable with the technology prior to your audition or callback, we are happy to take you through a practice run.